
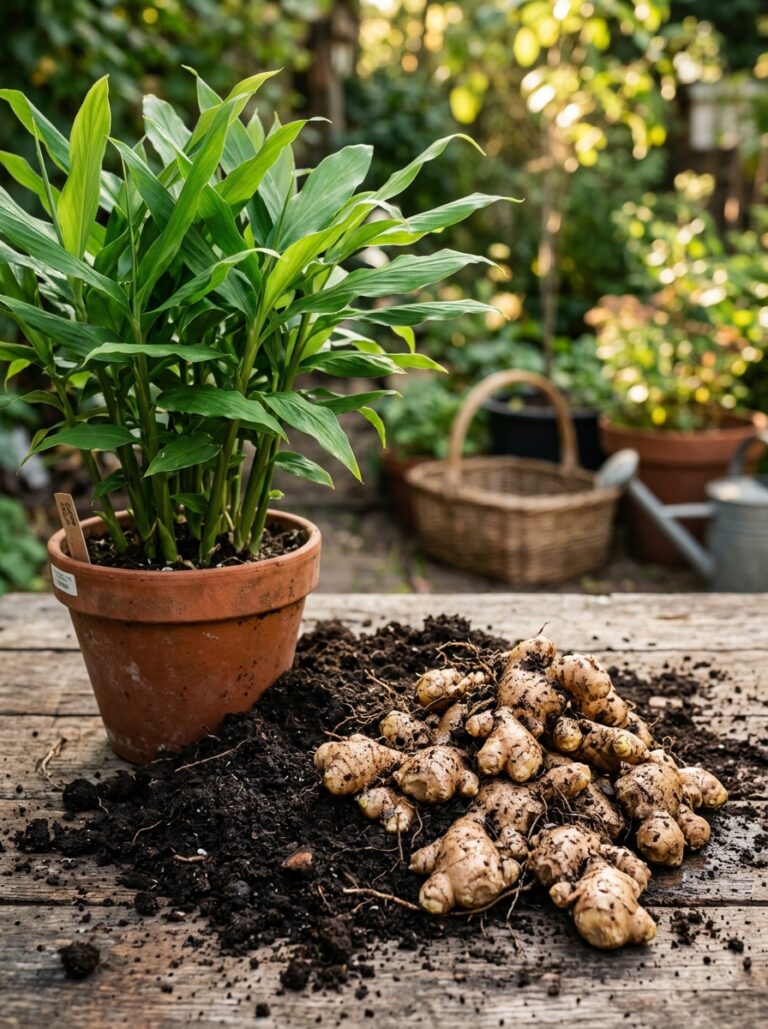
Fresh ginger is consistently more aromatic, more potent, and more flavorful than the ginger sold in grocery stores — which has often been stored for weeks or months and treated with growth inhibitors before it reaches the shelf.
Growing your own ginger produces a rhizome with significantly higher concentrations of gingerol, shogaol, and other bioactive compounds that are responsible for both ginger’s distinctive flavor and its well-documented health benefits. And the process starts with a single piece of ginger root from any grocery store or Asian market.
Why Grow Your Own Ginger?
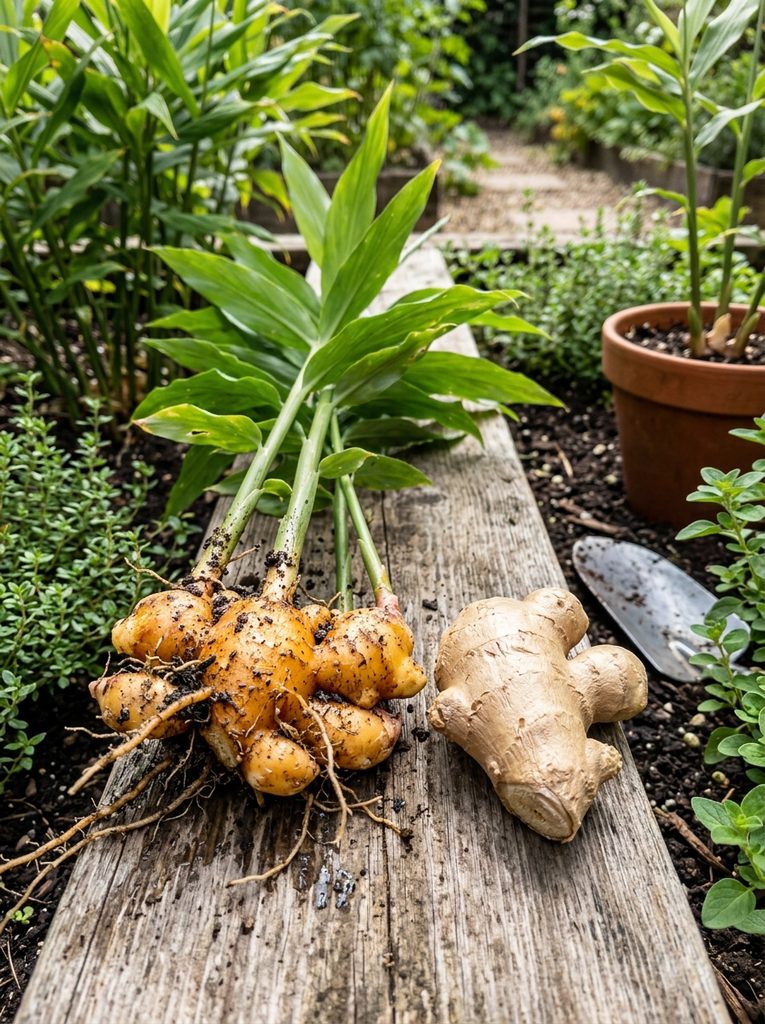
- Superior flavor and aroma: Freshly harvested ginger has volatile aromatic compounds that degrade rapidly during commercial storage — homegrown ginger is noticeably more pungent and complex
- No chemical treatment: Store-bought ginger is frequently sprayed with anti-sprouting chemicals and fungicides. Organic grocery store ginger avoids this, but homegrown avoids it entirely.
- Self-renewing supply: Each harvested rhizome can be partially replanted to produce the next year’s crop — the cycle is genuinely indefinite
- Ornamental value: Ginger plants are beautiful tropical specimens with glossy, aromatic leaves that make excellent houseplants
Choosing a Rhizome to Plant

Select a fresh, plump ginger rhizome (root) from an organic grocery store or Asian market. Organic is preferred because conventionally grown ginger may be treated with sprout inhibitors.
What to look for:
- Visible growth buds (small, pale green or yellow nubs on the surface of the rhizome — similar to “eyes” on a potato)
- Firm, turgid flesh — not wrinkled or soft
- Pieces with multiple buds will sprout faster and more vigorously
Optional pre-sprouting step: Soak the rhizome in warm water overnight before planting to rehydrate the tissues and activate the growth buds. Some growers also place the rhizome in a warm, moist environment (zip-lock bag with damp paper towel) for a few days before planting to start the sprouting process.
Container and Soil
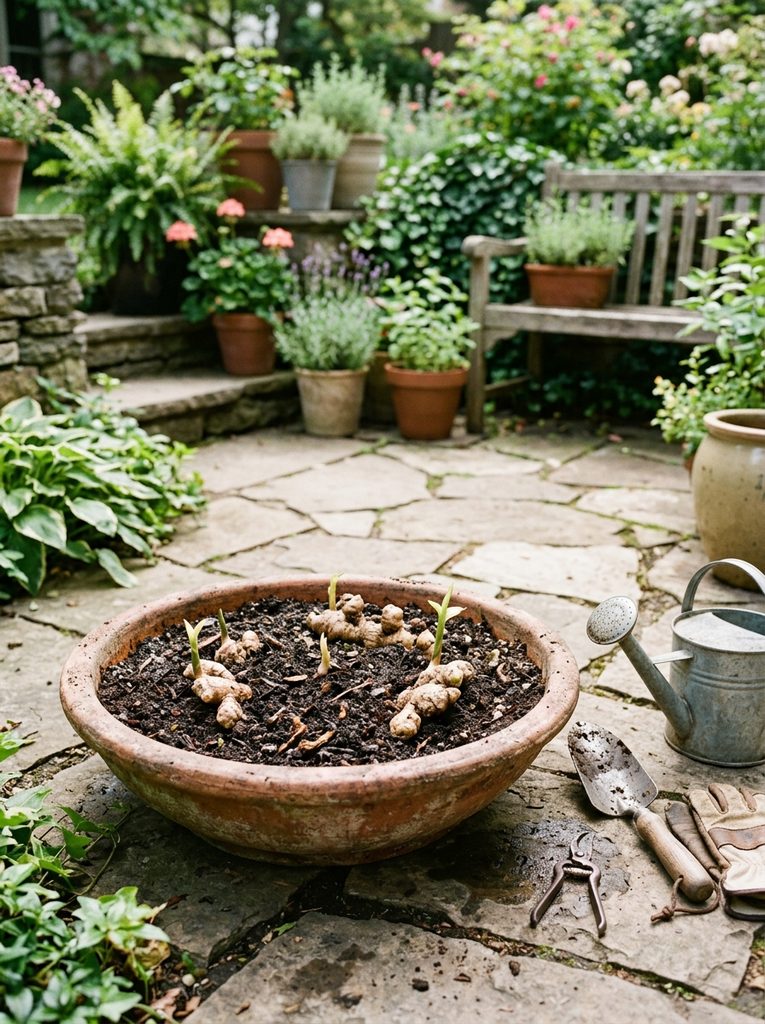
Container: Ginger rhizomes grow horizontally, not downward, so a wide, shallow container is better than a deep narrow one. A 12 to 16-inch diameter pot, 8 to 10 inches deep, is ideal for starting. As the plant grows, you will need to pot up to a larger container.
Soil: Rich, moisture-retentive but well-draining potting mix. Ginger roots rot in waterlogged conditions but need consistent moisture to develop properly. A mix of quality potting soil, compost, and 20% perlite provides the right balance.
pH: Slightly acidic, 5.5 to 6.5.
Planting
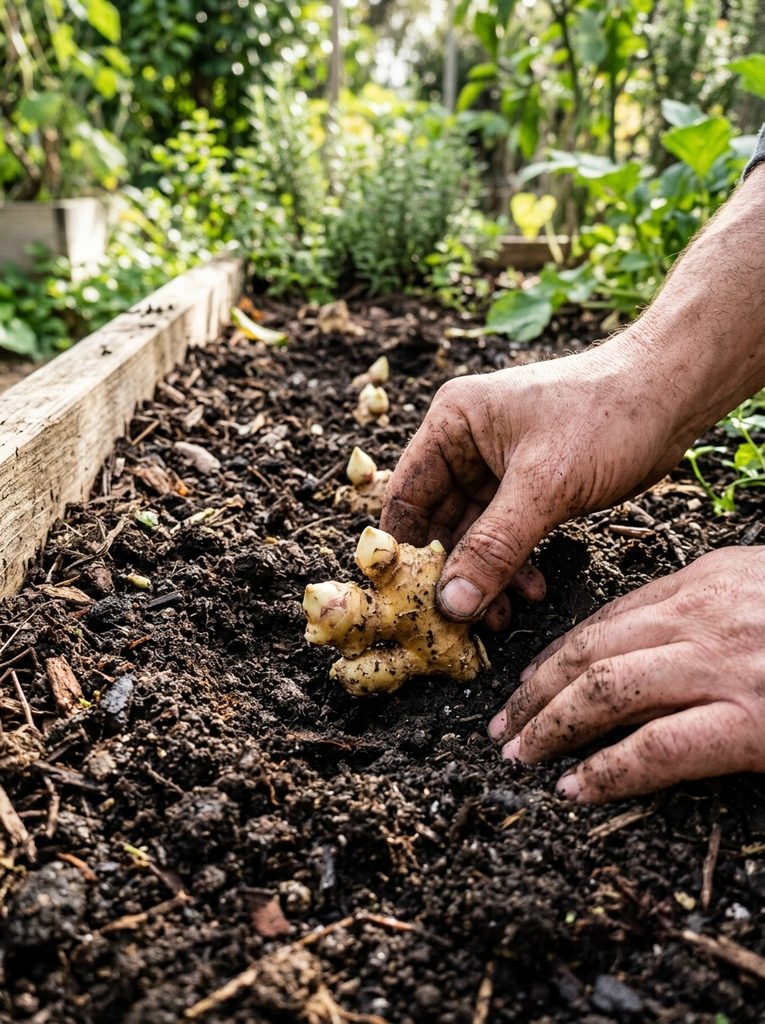
Best time to plant: Early spring (February to April in the Northern Hemisphere), when increasing day length and temperatures encourage active growth.
- Fill the container to within 3 inches of the rim with your soil mix.
- Place the ginger rhizome on the soil surface, growth buds facing up.
- Cover with 1 to 2 inches of soil. Do not bury deeply — ginger rhizomes grow near the surface and prefer shallow planting.
- Water gently but thoroughly.
- Place in a warm location (ideally 70 to 80°F). Bottom heat from a seedling heat mat significantly accelerates sprouting.
Sprouting timeline: Expect visible shoots to emerge within 2 to 4 weeks in warm conditions. In cooler conditions it may take 6 to 8 weeks.
Light and Temperature
- Light: Bright indirect light. Ginger is a forest understory plant in nature and does not tolerate direct midday sun, which scorches the leaves. Morning sun with afternoon shade is ideal outdoors. Indoors, a bright east or north-facing window works well.
- Temperature: Ginger thrives in warmth. Keep above 55°F at all times — temperatures below this slow growth dramatically. The ideal growing range is 70 to 85°F.
- Humidity: High humidity is beneficial. Mist the leaves occasionally, place on a pebble tray with water, or use a room humidifier nearby during the dry heating season.
Watering
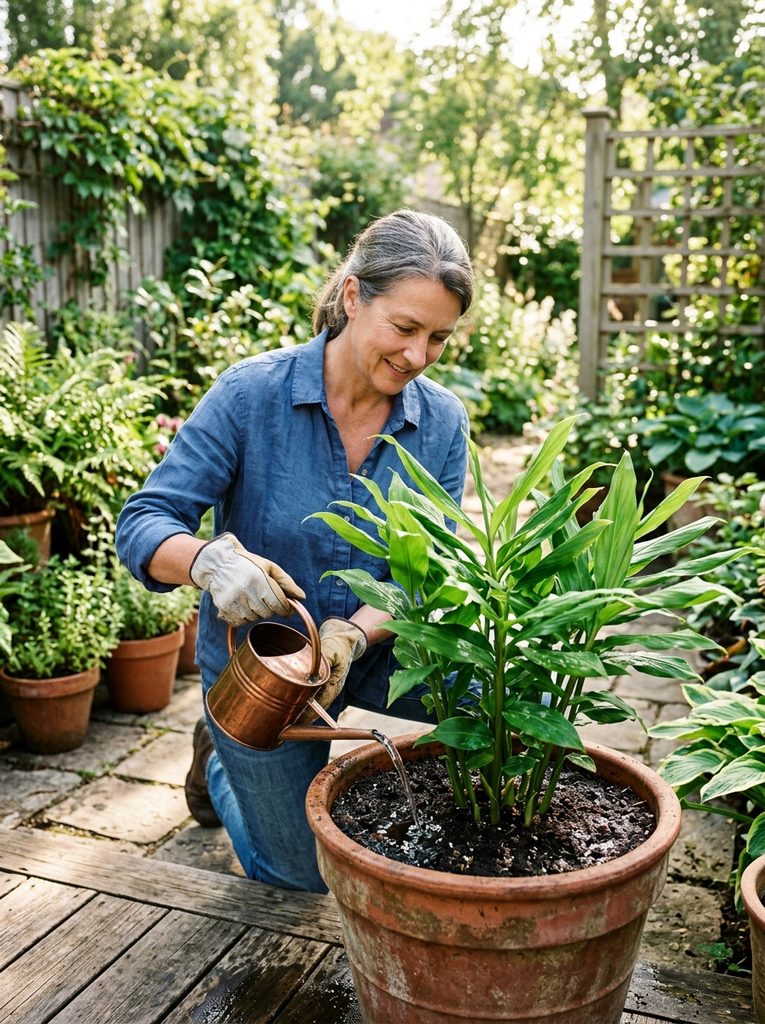
Keep the soil consistently moist but never waterlogged. A useful rule: stick your finger 2 inches into the soil — if it is barely moist, water thoroughly. If still damp, wait another day or two.
Reduce watering significantly in winter when the plant’s growth slows. In temperate climates, ginger naturally enters dormancy in autumn as temperatures drop and days shorten — allow the soil to dry more between waterings during this period.
Fertilizing
Feed monthly during the growing season (spring through summer) with a balanced liquid fertilizer at half the recommended strength, or use compost tea. Stop fertilizing in autumn and winter when growth slows.
Harvesting Ginger

Ginger can be harvested at different stages depending on what you want:
- Baby ginger (3 to 4 months after planting): The pink-tipped young rhizomes that develop near the soil surface have thin skin that does not require peeling, a milder flavor, and a juicy, crisp texture. Excellent for pickling, salads, and fresh use. Pull the entire plant to access, or carefully excavate at the edges.
- Mature ginger (8 to 10 months): After the foliage yellows and dies back in autumn (or after 8 to 10 months of growth), the full harvest is ready. Dig up the entire root mass, remove the stems, and brush off soil gently.
Creating a Self-Renewing Supply
After harvesting, set aside the most vigorous portion of the rhizome (approximately 20 to 30% of the total harvest, choosing pieces with visible growth buds) for replanting. This replanted piece produces the next year’s crop — you purchased your initial planting material once and grow ginger indefinitely thereafter.
Growing Ginger Outdoors
In USDA zones 8 to 12, ginger can be grown outdoors in the ground as a perennial. It dies back in winter but re-emerges in spring from the surviving rhizome. In zones 7 and colder, grow in containers and bring indoors before temperatures drop below 50°F in autumn.
✅ Tip
Ginger plants are beautiful enough to earn a spot as houseplants independent of their culinary value. The glossy, lance-shaped leaves are aromatic when brushed and the overall tropical appearance adds a lush quality to indoor spaces. Consider growing one in a decorative pot in a bright bathroom or kitchen — the humidity benefits the plant and the fresh ginger is always immediately accessible.
Fresh-harvested ginger freezes exceptionally well. Grate it while frozen (no need to thaw first) — this produces finely grated ginger with minimal effort and no peeling required if the skin is clean.
[Add a YouTube video about: “how to grow ginger at home from grocery store”]
Frequently Asked Questions
Can I grow ginger from grocery store ginger?
Yes — this is the most common starting method. Choose organic ginger if available (less likely to have been treated with sprouting inhibitors), select pieces with visible growth buds, and soak overnight in warm water before planting to remove any residual chemical treatments and rehydrate the tissue.
How long does it take to harvest ginger?
Baby ginger can be harvested in as few as 3 to 4 months. Fully mature ginger with maximum flavor and the thick skin characteristic of commercial ginger takes 8 to 10 months. In most Northern Hemisphere home situations, planting in February or March produces a full harvest by November or December.
The Bottom Line
A single ginger rhizome from the grocery store, planted in a wide container with rich soil, produces more ginger than most households use in a year. Save a portion for replanting and the cycle continues indefinitely — fresher, more potent, and better flavored than anything available commercially.
