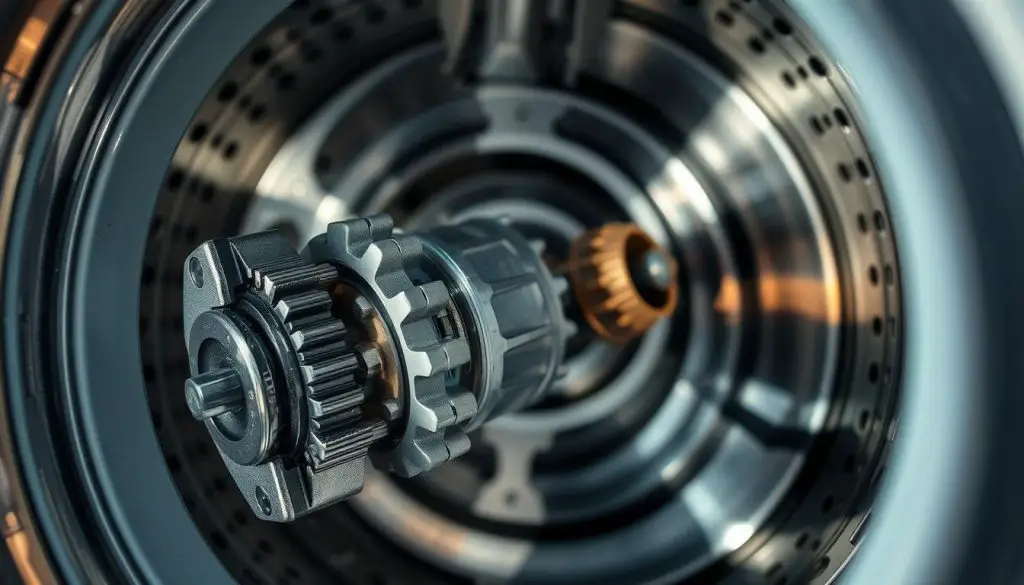
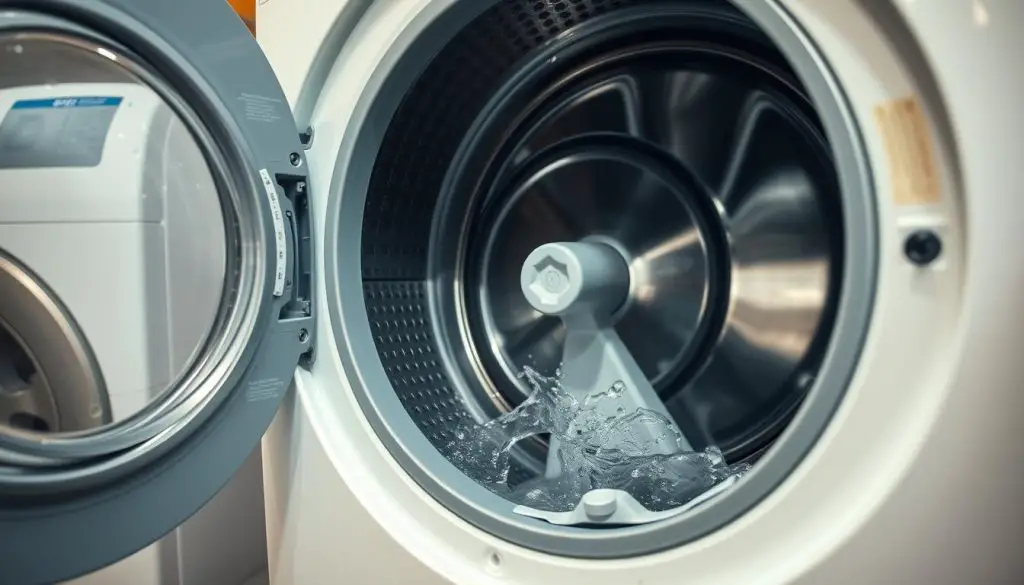
The agitator is key in top-loading washing machines. It moves clothes in the water-filled drum. It looks like a screw and rotates to clean your clothes.
Agitators are tough and rarely break. But, you might need to remove it to untangle clothes or clean deep. This guide will show you how to safely take out and put back your washer’s agitator.
We’ll cover the tools you need, safety tips, and step-by-step instructions. This guide is for DIY fans or those who want professional help. It will help you with this important washing machine maintenance task.
Table of Contents

Your Washing Machine Agitator
As a homeowner, knowing how your top-load washing machine works is key. The agitator is at the center, playing a big role in cleaning. Let’s look at what agitators do and the types you can find.
How Agitators Work in Top-Loading Washers
The agitator in top-load washers is made of two plastic pieces. They move fast in both directions. This action mixes clothes with water, removing dirt and stains.
When the machine spins, the agitator stays still but moves with the drum. This ensures clothes get a deep clean.
Types of Washing Machine Agitators
- Dual-Action Agitators: These have a central post and outer fins. The post moves one way, and the fins move the other. This gives a better clean.
- Single-Action Agitators: These are simpler. They have one post that moves in one direction. They clean clothes but not as well as dual-action agitators.
The Role of Agitators in Cleaning Clothes
Agitators are vital for cleaning clothes. They create the needed movement to remove dirt and stains. The agitator’s action, along with water and detergent, lifts and suspends dirt for a deep clean.
Agitator washers are great for tough stains but might not be best for delicate items. They can wear out clothes more. For delicate items, consider non-agitator washers like those with impellers.
Essential Tools and Safety Precautions for Agitator Removal
For diy washer repair and agitator removal instructions, the right tools and safety are key. You’ll need a socket wrench set, a wrench extension, a screwdriver, and pliers to remove the agitator from your top-loading washing machine.
Always put safety first when working on your appliance. Before starting any diy washer repair project, unplug the washing machine. This step prevents electrical shock while you work.
Don’t use penetrating oils or lubricants on corroded bolts. These can harm your clothes or the washing machine’s parts. For tough agitators, use a flat nylon strap and a broom handle as a lever to gently pull it up.
| Tool | Purpose |
|---|---|
| Socket Wrench Set | To loosen and remove the agitator bolt |
| Wrench Extension | To reach the agitator bolt in tight spaces |
| Screwdriver | To remove any screws or clips holding the agitator in place |
| Pliers | To grip and remove the agitator after the bolt is loosened |
By following these agitator removal instructions and taking safety steps, you can remove the agitator from your top-loading washing machine. This lets you fix any issues or maintenance needs.
Can You Take The Agitator Out Of A Washer
Wondering if you can remove the agitator from your washing machine? The agitator is key in top-loading washers. Its removal needs careful thought. We’ll look at when it’s needed, DIY vs. professional removal, and special cases.
When Agitator Removal is Necessary
Removing the agitator might be needed in some cases. Clothes getting tangled under it calls for a tub and agitator clean. Also, if the agitator’s teeth are worn, you might need a new agitator.
Professional vs DIY Removal Considerations
Homeowners with DIY skills can remove the agitator from many washers. But, if parts are corroded or rusted, a pro is better. They know how to safely take it out without harming the washer.
Special Cases and Exceptions
Some washers, like Whirlpool’s 2-in-1, have removable agitators. This lets you switch between agitator and impeller wash systems. For most washers, removing the agitator is not advised unless really needed.
Regular washer troubleshooting and maintenance help your washer last longer. Cleaning the agitator and tub often can prevent replace agitator repairs. Knowing when to remove the agitator helps you care for your washer better.

Step-by-Step Agitator Removal Process
Removing the agitator from your washing machine is easy with the right tools. You might need to replace a worn-out agitator or clean it. This guide will help you through the steps.
- First, unplug your washing machine for safety.
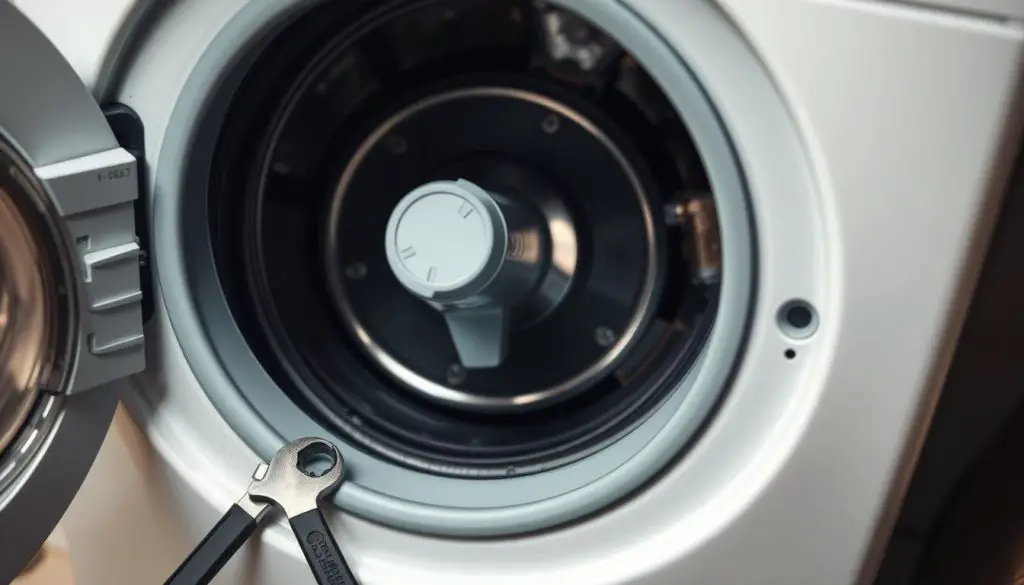
- Find the agitator cap at the top. Use a screwdriver or prying tool to remove it.
- Under the cap, you’ll see an inner cap or bolt. Use a socket wrench to take it off.
- Now, you can pull the agitator straight up to remove it from the machine.
- For Whirlpool’s 2-in-1 agitator models, squeeze the handle, rotate it counter-clockwise, and lift to remove.
To put it back together, just follow these steps in reverse. Make sure to use the right socket size to avoid damage. Check the agitator for wear and replace the drive block if needed.
| Repair Part | Availability |
|---|---|
| One-Piece Agitators | Available for most major brands |
| Upper and Lower Agitator Parts | Offered for two-part agitator designs |
| Agitator Repair Kits | Comprehensive kits with all necessary components |
| Directional Cogs and Drive Blocks | Critical for proper agitator movement and function |
By following these agitator removal instructions, you can keep your washing machine in top shape. This will help it run smoothly for many years.

Common Challenges During Agitator Removal
Dealing with Stuck or Corroded Parts
Removing an agitator can be tough, especially when parts are stuck or corroded. The agitator might be stuck down by gunk and debris. You’ll need some effort and special techniques to get it out.
Troubleshooting Tips and Solutions
Try tapping the hub with a small block of wood and a hammer if it’s stuck. This can help break the adhesive. Also, running a hot water cycle halfway through can expand the metal and loosen the agitator.
If the bolt is stuck, make sure you’re using the right socket size. Consider replacing worn-out sockets. For really corroded parts, getting professional help might be best to avoid damage. Always be careful and seek advice if unsure.
Related Articles:

