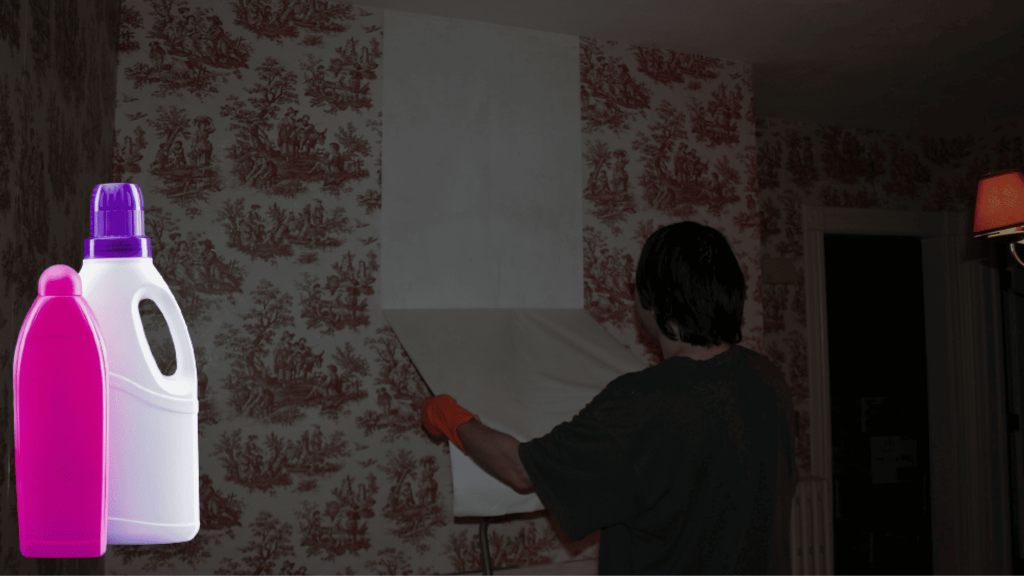
I love wallpapers. And I am the type that frequently changes their wallpaper when they get inspired.
For many people, too, as their tastes change, the time eventually comes to remove that beloved wallpaper.
If you’re at the point where you need to remove an old wallpaper and fix a new one, you know it can be daunting and frustrating.
But alas! I found a secret weapon in the battle against stubborn wallpaper, fabric softener.
As often as I have had to change wallpaper, I can attest to the effectiveness and ease of fabric softener to remove wallpaper.
In this article, I will walk you through everything you need about removing wallpaper with fabric softener, sharing personal experiences and tips.
Key Summary- How to remove wallpaper with fabric softener
- Mix the 1/4 fabric softener with 3/4 water.
- Score the wallpaper surface using a scoring tool to create small perforations.
- Apply the fabric softener mixture onto the wallpaper, ensuring even coverage.
- Allow the fabric softener to soak in for the recommended time.
- Remove the wallpaper by peeling and scraping it off the wall using a putty knife or scraper.
- Clean the wall surface and remove any adhesive residue to prepare it for future use.
Table of Contents

Removing wall paper
Employing the right techniques is crucial for a successful and hassle-free process when removing wallpaper.
Having been through the ups and downs of wallpaper removal, I’ve learned firsthand the significance of following proper methods.
Improper removal techniques can damage walls, including gouges, scratches, or tears.
These issues not only require additional repair work but also prolong the overall process.
When you understand and implement the correct wallpaper removal techniques, you can save time and money and ensure a smooth transition to your desired wall finish.
Why Fabric Softener?
When removing wallpaper, fabric softener is a surprising yet effective solution.
Understanding the science behind its effectiveness can explain why it has become a go-to method for many.
Fabric softener contains ingredients that break down the adhesive bond between the wallpaper and the wall.
These ingredients, such as surfactants and emulsifiers, penetrate the layers of wallpaper, weakening the adhesive and making it easier to remove.
The softening agents in fabric softener helps to loosen the wallpaper, ensuring a smoother and more efficient removal process.
The gentle yet powerful action of the fabric softener not only aids in wallpaper removal but also minimizes damage to the underlying wall surface.
This is especially important when dealing with delicate or fragile walls, as it reduces the risk of tears or gouges.
The Advantages of Using Fabric Softener as a Non-Toxic and Affordable Solution
One key advantage of fabric softener for wallpaper removal is its non-toxic nature.
You can check out our extensive article on eco-friendly fabric softener alternatives.
Unlike commercial chemical strippers, fabric softener poses no significant health risks and can be used safely in any environment.
This is particularly important for those with sensitivities, allergies, or households with children or pets.
You can tackle your wallpaper removal project without worrying about exposing yourself or your loved ones to harmful chemicals.
From a financial perspective, fabric softener is an affordable solution that offers substantial savings compared to other commercial products.
It is a readily available household item, making it a convenient choice for many homeowners.
Instead of investing in expensive and specialized wallpaper removal products, you can achieve excellent results with a cost-effective solution.
While fabric softener is a highly effective method for most wallpaper removal projects, it’s important to acknowledge any concerns or limitations that may arise.
One concern is the potential for excessive moisture when using fabric softeners. It is crucial to avoid oversaturation of the wallpaper as it can damage the wall surface or promote the growth of mold and mildew.
I would usually evenly apply the fabric softener mixture and allow it to penetrate the wallpaper without excessive dripping.
Fabric softeners may be less effective in removing certain wallpapers, such as vinyl-coated or washable ones. In such cases, exploring alternative methods to ensure successful removal.
The combination of its scientific properties, non-toxic nature, and affordability make it a standout choice.
However, it is always wise to conduct a small test patch to assess the compatibility of fabric softener with your specific wallpaper and wall surface.
How to remove wallpaper with fabric softener
Supplies and Tools
- Plastic drop cloths or tarps
- A clean, damp cloth
- Prepare the Fabric Softener Mixture
From personal experience, a 1/4 fabric softener to 3/4 water works well.
Properly mixing the fabric softener and water ensures that the solution effectively breaks down the wallpaper adhesive. - Score the Wallpaper
Use a wallpaper scoring tool to create vertical or horizontal lines across the wallpaper’s surface, spacing them a few inches apart. Apply gentle pressure to avoid damaging the wall behind the wallpaper. - Apply the Fabric Softener Mixture
Using a spray bottle or sponge, evenly apply the fabric softener mixture onto the wallpaper. Start from the top and work your way down, ensuring thorough coverage. Allow the mixture to saturate the scored areas. - Let the Fabric Softener Soak In
Allowing the fabric softener mixture to soak into the wallpaper for about 15-20 minutes yields optimal results.
Look for signs that the fabric softener has penetrated the wallpaper and loosened the adhesive. These signs include the wallpaper appearing wrinkled or bubbled and the edges starting to lift. - Remove the Wallpaper
Starting from a corner or edge, gently lift the wallpaper using a putty knife or scraper. Gradually peel the wallpaper off the wall, maintaining a moderate and steady pulling motion. Be cautious to avoid damaging the wall surface.
For stubborn sections, reapply the fabric softener mixture and allow it to soak for a few more minutes. Use the putty knife or scraper to scrape any remaining adhesive residue carefully. - Clean and Prepare the Wall for Future Use
After removing the wallpaper, it’s essential to clean the wall surface thoroughly to ensure a smooth finish for future applications. Remove any adhesive residue left behind using a clean, damp cloth or sponge.
Difficulties in removing wallpaper
Here are some common difficulties you may encounter during the wallpaper removal process:
- Stubborn Adhesive: Wallpaper adhesive can be quite strong, especially if the wallpaper has been on the wall for a long time. It can make it difficult to peel off the wallpaper, requiring extra effort and patience.
- Multiple Layers: If there are multiple layers of wallpaper on the wall, each layer may need individual attention and removal. This can prolong the process and require extra time and effort to remove all layers effectively.
- Textured or Embossed Wallpaper: Textured or embossed wallpapers can be more challenging to remove as the pattern and texture trap the adhesive, making it harder to penetrate and loosen. Additional techniques, such as scoring or using a wallpaper steamer, may be necessary to remove these wallpaper types effectively.
- Improper Wall Preparation: The removal process could be more difficult if the wall were not properly prepared before the wallpaper was installed. For example, if the wall was not primed or sealed, the wallpaper adhesive may have bonded strongly with the wall surface, making it harder to remove without causing damage.
- Adhesive Residue: Even after successfully removing the wallpaper, the residual adhesive may be left on the wall. This residue can be sticky and challenging to remove completely, requiring additional cleaning and preparation before applying new wallpaper or paint.
References:
Related Articles


