Despite its name and widespread use in various repairs, duct tape is not a suitable solution for dryer vents because the adhesives in duct tapes fail under high dryer temperatures.
Using duct tape for dryer vent poses serious risks. The adhesive in duct tape isn’t designed to withstand the high temperatures and moisture of dryer vents, which can lead to deteriorating seals and significant fire hazards.
In this guide, we’ll explore why duct tape falls short for dryer vent repairs and what safer alternatives exist to ensure your home’s safety.
Table of Contents

What kind of tape do you use for a dryer vent?
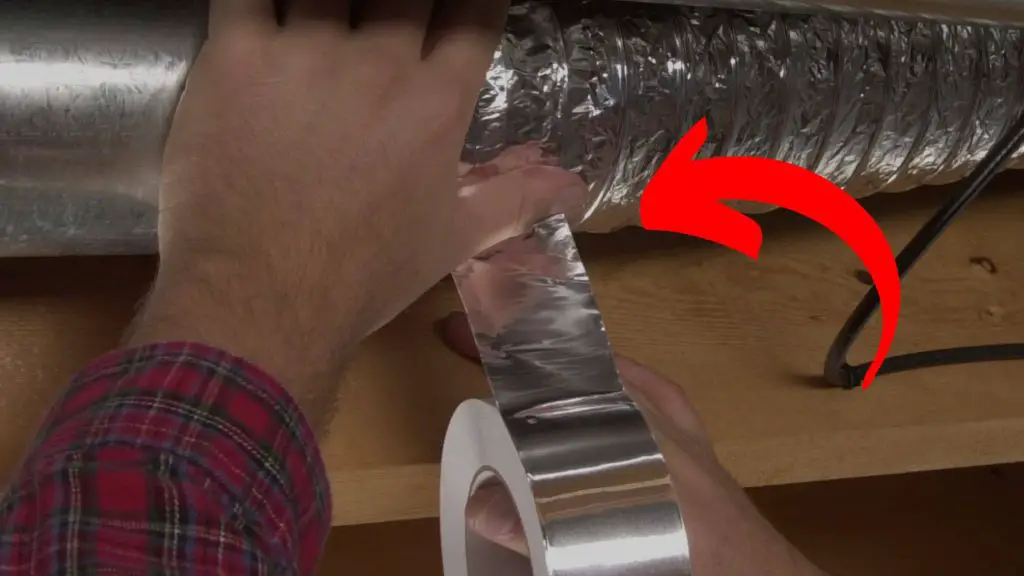
For dryer vents, it’s essential to use a tape that can withstand the high temperatures and humidity typically associated with dryers. The recommended type of tape is aluminum Foil Tape.
Aluminum foil tape can handle the high temperatures produced by dryers and is less likely to degrade over time, ensuring a more secure seal. making it safe for use on dryer vents.
This tape is specifically designed for sealing and repairing in heating, ventilation, and air conditioning (HVAC) applications, including dryer vents. Its properties make it a far better option than duct tape for this particular use.
It’s also important to ensure that any tape used is labeled as UL 181A-P or UL 181B-FX certified, indicating it’s approved for these types of repairs and can safely withstand the environmental conditions of dryer vents.
The Do’s and Don’ts of Dryer Vent Repair

Repairing and maintaining your dryer vent is crucial for the safety and efficiency of your home.
However, it’s essential to use the right materials and methods to avoid potential hazards.
Safe Materials for Dryer Vent Repairs
Dryer vent materials are designed to withstand the high temperatures and humidity typically associated with dryers.
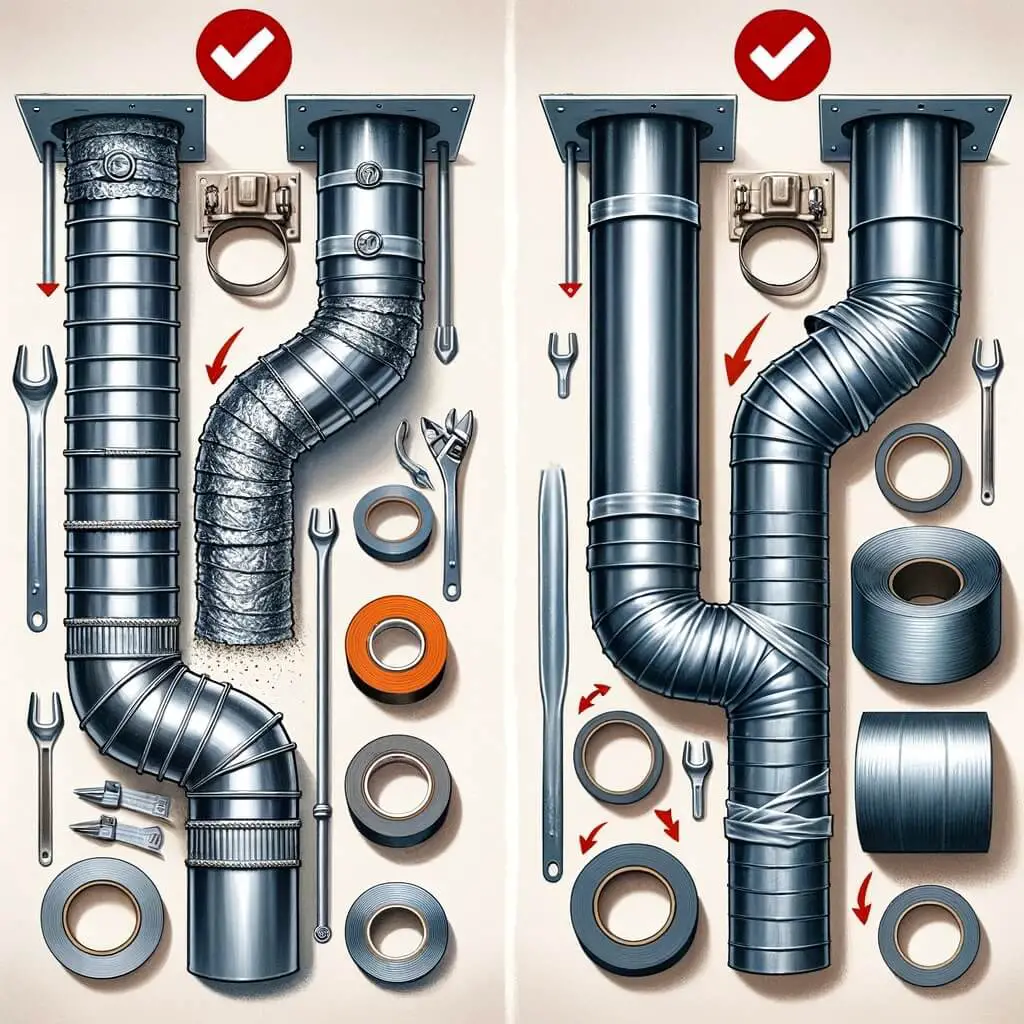
Aluminum foil tape is an excellent choice for sealing joints and seams in dryer vents. Its heat and moisture resistance make it far superior to other tapes like duct tape.
In addition to the right tape, metal clamps are also crucial for securely fastening ducts and hoses. They provide a robust and durable hold, ensuring that your dryer vent stays intact.
When installing or repairing dryer vents, ensure all materials are UL-rated for high-temperature applications.
Risks of Using Inappropriate Materials
Using inappropriate materials for dryer vent repairs can lead to severe consequences. The most significant risk is the potential for fire hazards.
Materials that cannot withstand the high temperatures of the dryer exhaust may overheat, creating a dangerous situation.
Regular checks for signs of wear and tear can help identify issues early and prevent potential problems.
How to seal a dryer vent
Properly sealing your dryer vent is essential for ensuring it functions safely and efficiently, reducing the risk of fire hazards.
You need to carefully execute all the key stages, from gathering the right materials to cleaning, inspecting, and securely attaching and sealing the ductwork.
Here’s a step by step guide on how to seal a dryer vent properly:
1. Gather the necessary materials
Preparing all the materials needed for the task. This includes aluminum foil tape that’s certified for ductwork, metal clamps, a screwdriver for adjusting the clamps, a cleaning brush or vacuum for removing lint, and protective gloves and safety goggles.
2. Clean the Vent and Duct
The first actual step in the sealing process is to clean the vent and duct. Turn off and disconnect the dryer, then detach the dryer vent duct from both the dryer and the vent outlet. Thoroughly clean out all lint from the duct, dryer, and vent outlet using a brush or vacuum. This is to get rid of any accumulated lint.
3. Inspect the Duct
After cleaning, inspect the duct for any signs of damage, like holes or tears. If the duct is significantly damaged, it’s better to replace it entirely.
4. Attach and Seal the Duct
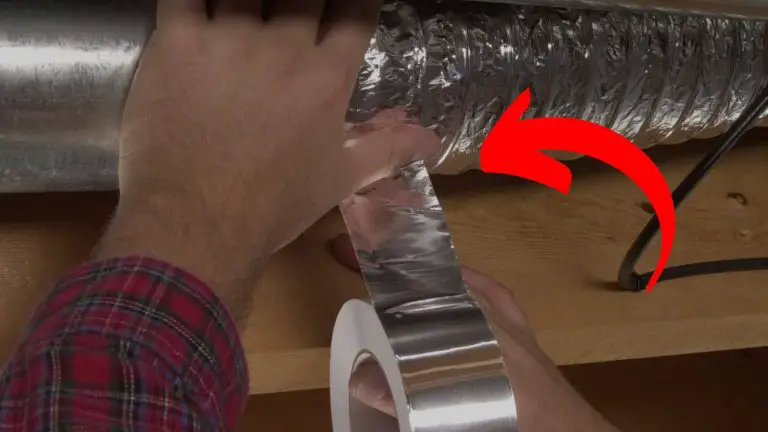
Reattach the duct to the dryer and the vent outlet and secure the connection at both ends using metal clamps, tightening them with a screwdriver to ensure they fit snugly. Then, use aluminum foil tape to seal the joints, making sure to overlap the tape around the connection for a continuous, air-tight barrier. Smooth out the tape to prevent air pockets.
5. Final Inspection and Testing
Finally, reconnect the dryer to the power source and run it to check for any air leaks at the sealed joints. If leaks are found, reinforce the tape as necessary. Monitor the dryer over a few cycles to confirm that it operates correctly and efficiently.
Frequently Asked Questions
Can I use zip ties on my dryer vent?
You should not use zip ties for securing dryer vents. While zip ties are convenient and strong for various applications, they are not suitable for dryer vents due to their inability to withstand the high temperatures generated by dryers.
High heat can cause zip ties to deteriorate or melt, leading to a potential fire hazard and a loss of the seal on the duct.
Is it better to use clamps or tape for a dryer vent?
For optimal safety and efficiency, it’s recommended to use both clamps and aluminum foil tape when installing a dryer vent. Clamps provide a strong mechanical connection, ensuring the vent hose stays securely attached to the dryer and vent outlet. Aluminum foil tape, on the other hand, is ideal for sealing seams and joints against air and lint leaks. This combination offers both a secure attachment and an airtight seal.
Can I use PVC pipe for my dryer vent?
Using PVC pipe for a dryer vent is not recommended due to safety concerns and compliance with building codes. PVC is not designed to endure the high temperatures produced by dryers, which can lead to softening or melting of the pipe, creating a serious fire hazard. Also, PVC can accumulate static electricity, posing a risk of igniting dryer lint, a highly flammable material.
Related Articles:

