Proper maintenance is key to keeping your Whirlpool Duet Washer running smoothly. One crucial step is understanding where the filter is located. Whether you own a top-loading or front-loading model, knowing this can save you time and effort.
In top-loading machines, the filter is often found under the panel at the bottom right. For front-loaders, it’s typically behind the dispenser drawer. Older models might require removing the back panel to access the filter. Always have a container or pan ready to catch any residual water when removing the filter.
This guide focuses on safe, DIY-friendly procedures. It’s designed for those who want to maintain their washer without professional help. Let’s dive into the details and ensure your appliance continues to perform at its best.
Essential Guide to the whirlpool duet washer filter location
Keeping your washer in top shape requires regular maintenance. Knowing where to find and clean the filter is a big part of that. This guide will help you locate the filter in your machine, whether it’s a front-loader or top-loader.
Understanding Front-Loading and Top-Loading Differences
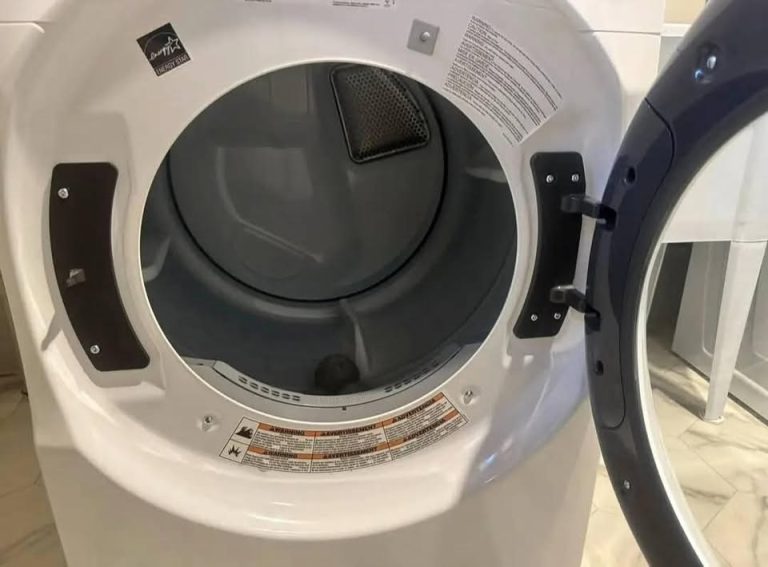
Front-loading and top-loading washers have different designs, which affects where the filter is placed. For front-loaders, you’ll usually find the filter behind the dispenser drawer. In top-loaders, it’s often under the panel at the bottom right. Older models might require removing the back panel to access the filter.
Identifying the Filter Location: Panel, Drawer, or Beneath the Drain Pump
Here’s how you can find the filter in your washer:
| Washer Type | Filter Location |
|---|---|
| Front-Loading | Behind the dispenser drawer |
| Top-Loading | Under the panel at the bottom right |
| Older Models | Behind the back panel |
Always have a container ready to catch water when removing the filter. This guide is designed to be clear and easy to follow, so you can maintain your washer with confidence.
Steps for Accessing and Removing the Filter
When it comes to maintaining your appliance, understanding how to access and remove the filter is essential. This process helps ensure your machine runs efficiently and prevents potential issues. Let’s walk through the steps to do this safely and effectively.
Preparing Your Workspace and Setting Up a Pan
Start by clearing enough space around your appliance to work comfortably. Place a large container or pan directly beneath the filter area to catch any residual water. Ensure the machine is stable and balanced to prevent any movement during the process. It’s also a good idea to turn off the water supply before you begin.
Twisting the Handle and Removing the Filter Safely
Locate the filter handle, typically found beneath the drain pump or behind the dispenser drawer. Twist the handle counterclockwise to loosen it. As you remove the filter, allow any remaining water to drain into the pan. Be patient, as this step may take a few moments. Once loose, carefully slide the filter out and inspect the area beneath the drain pump for any obstructions.
Remember, proper maintenance ensures your appliance continues to perform at its best. Always refer to your user manual if you need additional guidance specific to your model.
Maintenance Tips for Your Washer’s Drain Pump Filter and Components
Regular upkeep of your washer’s drain pump filter and related parts is crucial for optimal performance. By following these tips, you can extend the life of your appliance and prevent common issues.
Cleaning Supply Lines and Valves with a Gentle Approach
Start by using a soft toothbrush to gently scrub away any buildup on the supply lines and valves. Soak them in warm water to loosen debris. This method is gentle yet effective in maintaining cleanliness without causing damage.
Preventing Clogs and Ensuring a Leak-Free Assembly
Regularly inspect the filter and drain hose for blockages. After cleaning, reassemble the parts securely. Check the connections on both the hot and cold sides to ensure they’re leak-free. This careful process helps prevent future issues.
| Component | Maintenance Step |
|---|---|
| Drain Pump Filter | Clean every 1-2 months |
| Supply Lines | Inspect for leaks and kinks |
| Drain Hose | Check for blockages |
Always refer to your model’s specific instructions for guidance. Proper maintenance not only prevents breakdowns but also ensures your washer runs efficiently for years to come.
Conclusion
Maintaining your appliance’s efficiency starts with understanding its components. Knowing where to find and clean the filter is crucial for smooth operation. Front-loading models typically have the filter behind the dispenser drawer, while top-loaders have it under the panel at the bottom right. Older models might require removing the back panel.
To safely remove the filter, locate the handle beneath the drain pump or behind the dispenser. Twist it counterclockwise and let any water drain into a container. Regular cleaning prevents blockages and ensures optimal performance. Always follow each step carefully to avoid issues and extend your appliance’s life.
By implementing these tips, you’ll keep your appliance running efficiently. For model-specific details, consult your manufacturer’s guide. Happy maintaining!
FAQ
Where is the drain pump filter located in my Whirlpool Duet washer?
How do I remove the filter from the drain pump?
Can I clean the drain pump filter instead of replacing it?
How often should I check the drain pump filter?
Why is my drain pump filter turning clockwise?
How do I prevent clogs in my drain pump filter?
Can I access the filter through the dispenser drawer?
What happens if I forget to replace the filter after cleaning?
How do I know if my drain pump filter is damaged?
Can I use a generic filter replacement for my Whirlpool Duet washer?
Related Articles: